max@ly-max.com
+86 13698827555
Time: 2025-08-05 07:19:51 Source: Max Pipe
Pipe floaters are essential components in offshore engineering, particularly for dredging and other marine operations where pipelines need to be supported on the water surface. Here's a breakdown of their specifications and general installation methods.
Pipe float specifications vary depending on the manufacturer and the intended application, but generally include:
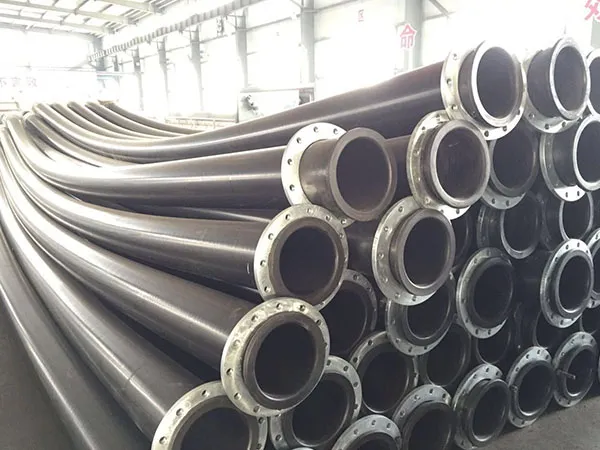
Inner Diameter (ID): This is the crucial dimension that determines the pipe floater's compatibility with the pipeline. It must match or be slightly larger than the outer diameter of the pipe it will support, ensuring a snug fit to prevent slippage. Common IDs range from 100mm up to 1200mm or more, to accommodate various pipe sizes.
Outer Diameter (OD): This indicates the overall size of the floater. Larger ODs generally correlate with greater buoyancy.
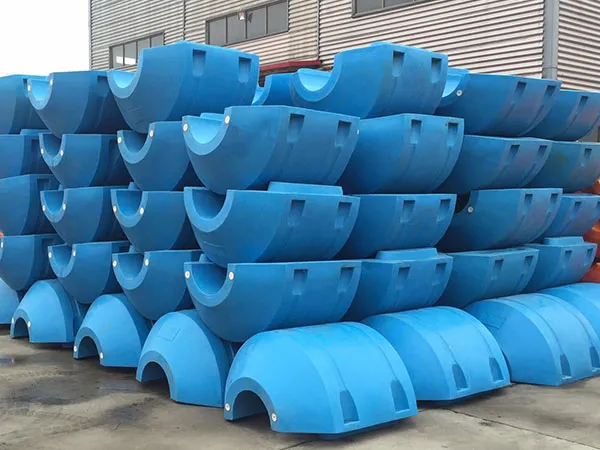
Length: The length of individual pipe floater sections. Floaters often come in two halves that are bolted together, and the total length of the assembled floater contributes to the overall buoyancy.
Buoyancy Capacity (kg or lbs): This is the maximum weight the floater can support before becoming fully submerged. Manufacturers specify this value, and it's critical to select floaters with sufficient buoyancy to support the pipeline, the material being transported (e.g., mud slurry), and a safety margin (often 30% or more over the pipe's counterweight).
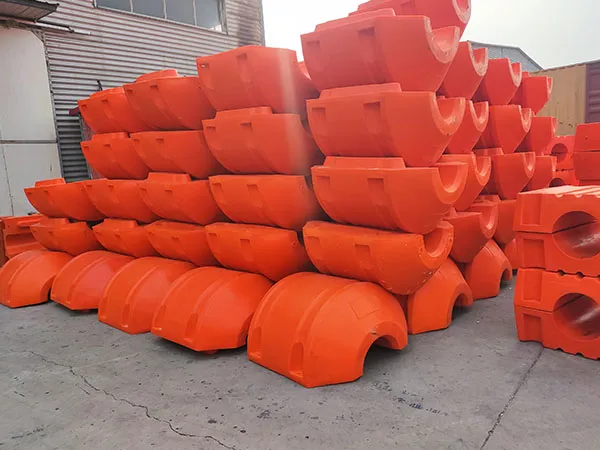
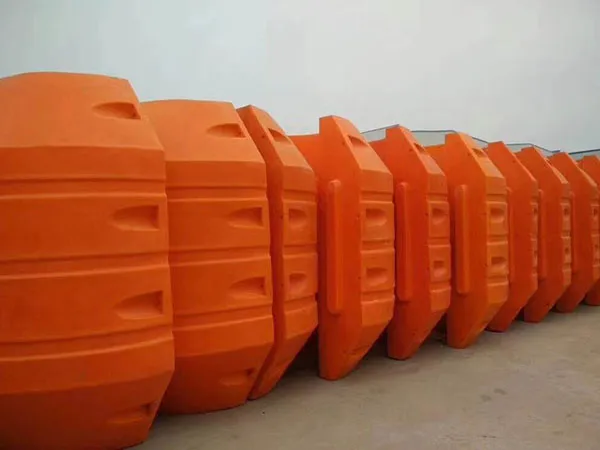
Material:
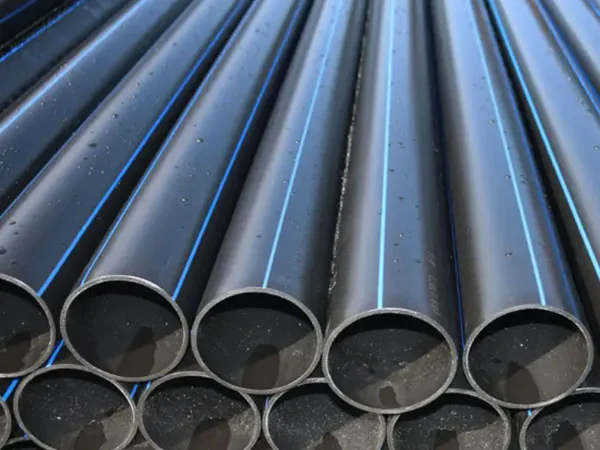
Shell: Typically High-Density Polyethylene (HDPE) due to its excellent resistance to corrosion, UV radiation, abrasion, and impact in marine environments.
Filling: Often filled with closed-cell polyurethane (PU) foam or expanded polystyrene (EPS) foam. This foam provides the buoyancy and ensures the floater remains buoyant even if the outer shell is punctured.
Wall Thickness: The thickness of the HDPE shell, contributing to the floater's durability and impact resistance.
Attachment Method: Most pipe floaters come in two halves that are bolted together around the pipe. The assembly kits usually include marine-grade galvanized steel or stainless steel bolts, nuts, and washers to resist corrosion.
Color: Often bright colors like orange or yellow for high visibility on the water, serving as a warning to other vessels. Other colors can be customized.
Temperature Resistance: Operating temperature range, typically from -50°C to +60°C or -60°C to +80°C, to ensure performance in various climatic conditions.
Weathering & UV Resistance: Measured by factors like tensile strength, elongation at break, and impact strength, indicating the material's ability to withstand environmental degradation.
Reserve Buoyancy: The additional buoyancy beyond what's needed to float the pipe. This is important for stability and to account for varying loads (e.g., when slurry is flowing through the pipe). A general guideline suggests buoyancy should be 30% higher than the pipeline's counterweight.
Spacing Guide: Manufacturers often provide recommendations for the spacing of floaters along a pipe section, which can vary depending on whether it's for water or slurry, and the length of the pipe segment. For example, 4 sets for every 12 meters of water pipe, or 7 sets for every 12 meters of slurry pipe.
The installation of HDPE pipe floaters is generally straightforward, but proper technique is crucial for their effectiveness and the longevity of the pipeline system.
General Steps:
Preparation and Safety:
Site Assessment: Before installation, assess the environmental conditions (water currents, waves, tides, potential debris) and the specific requirements of the project.
Pipeline Laying: Ensure the pipeline is correctly positioned and secured, either on shore or in the water, before attaching the floaters.
Tools: Gather the necessary tools, typically wrenches or spanners for tightening bolts, and potentially lifting equipment for larger floaters or pipes.
PPE: Ensure all workers wear appropriate personal protective equipment (life jackets, helmets, gloves, safety boots).
Choosing the Right Floaters:
Match ID: Verify that the inner diameter of the pipe floater matches or slightly exceeds the outer diameter of the pipeline to ensure a secure, non-slip fit.
Calculate Buoyancy: Determine the required buoyancy based on the weight of the pipe, the weight of the material inside the pipe (when operational), and a safety factor. Select floaters that collectively provide sufficient buoyancy.
Spacing: Refer to the manufacturer's spacing guide. Insufficient or inconsistent spacing can lead to uneven submersion, stress on the pipeline, and reduced flow efficiency.
Installation Process:
Positioning: Place the two halves of the pipe floater around the pipe at the designated intervals.
Alignment: Ensure the floater halves are properly aligned and seated around the pipe.
Securing: Use the provided galvanized or stainless steel bolts, nuts, and washers to securely fasten the two halves together. Tighten them evenly to ensure a tight fit around the pipe. Some floaters have features like "Clamp Tite" to prevent slippage.
Repeat: Continue this process along the entire length of the pipeline that requires flotation, maintaining consistent spacing.
Anchoring (if necessary): In areas with strong currents or high wave action, consider using additional anchoring systems to prevent the entire pipeline from drifting or shifting.
Check Fit: After installation, visually inspect all floaters to ensure they are securely fastened and not slipping.
Observe Buoyancy: Once the pipeline is in the water and operational, observe the buoyancy. The floaters should keep the pipe at the desired level of submergence (e.g., 50% to 80% submerged, with about 1/4 of the pipe's height above the water when working).
Regular Inspections: Implement a routine inspection schedule to check for signs of wear and tear, such as cracks, punctures, or loose bolts.
Repair/Replace: Promptly repair or replace any damaged floaters to maintain the pipeline's integrity and operational efficiency.
By carefully considering specifications and following proper installation techniques, pipe floaters can effectively support offshore pipelines, ensuring safe and efficient operations in demanding marine environments.